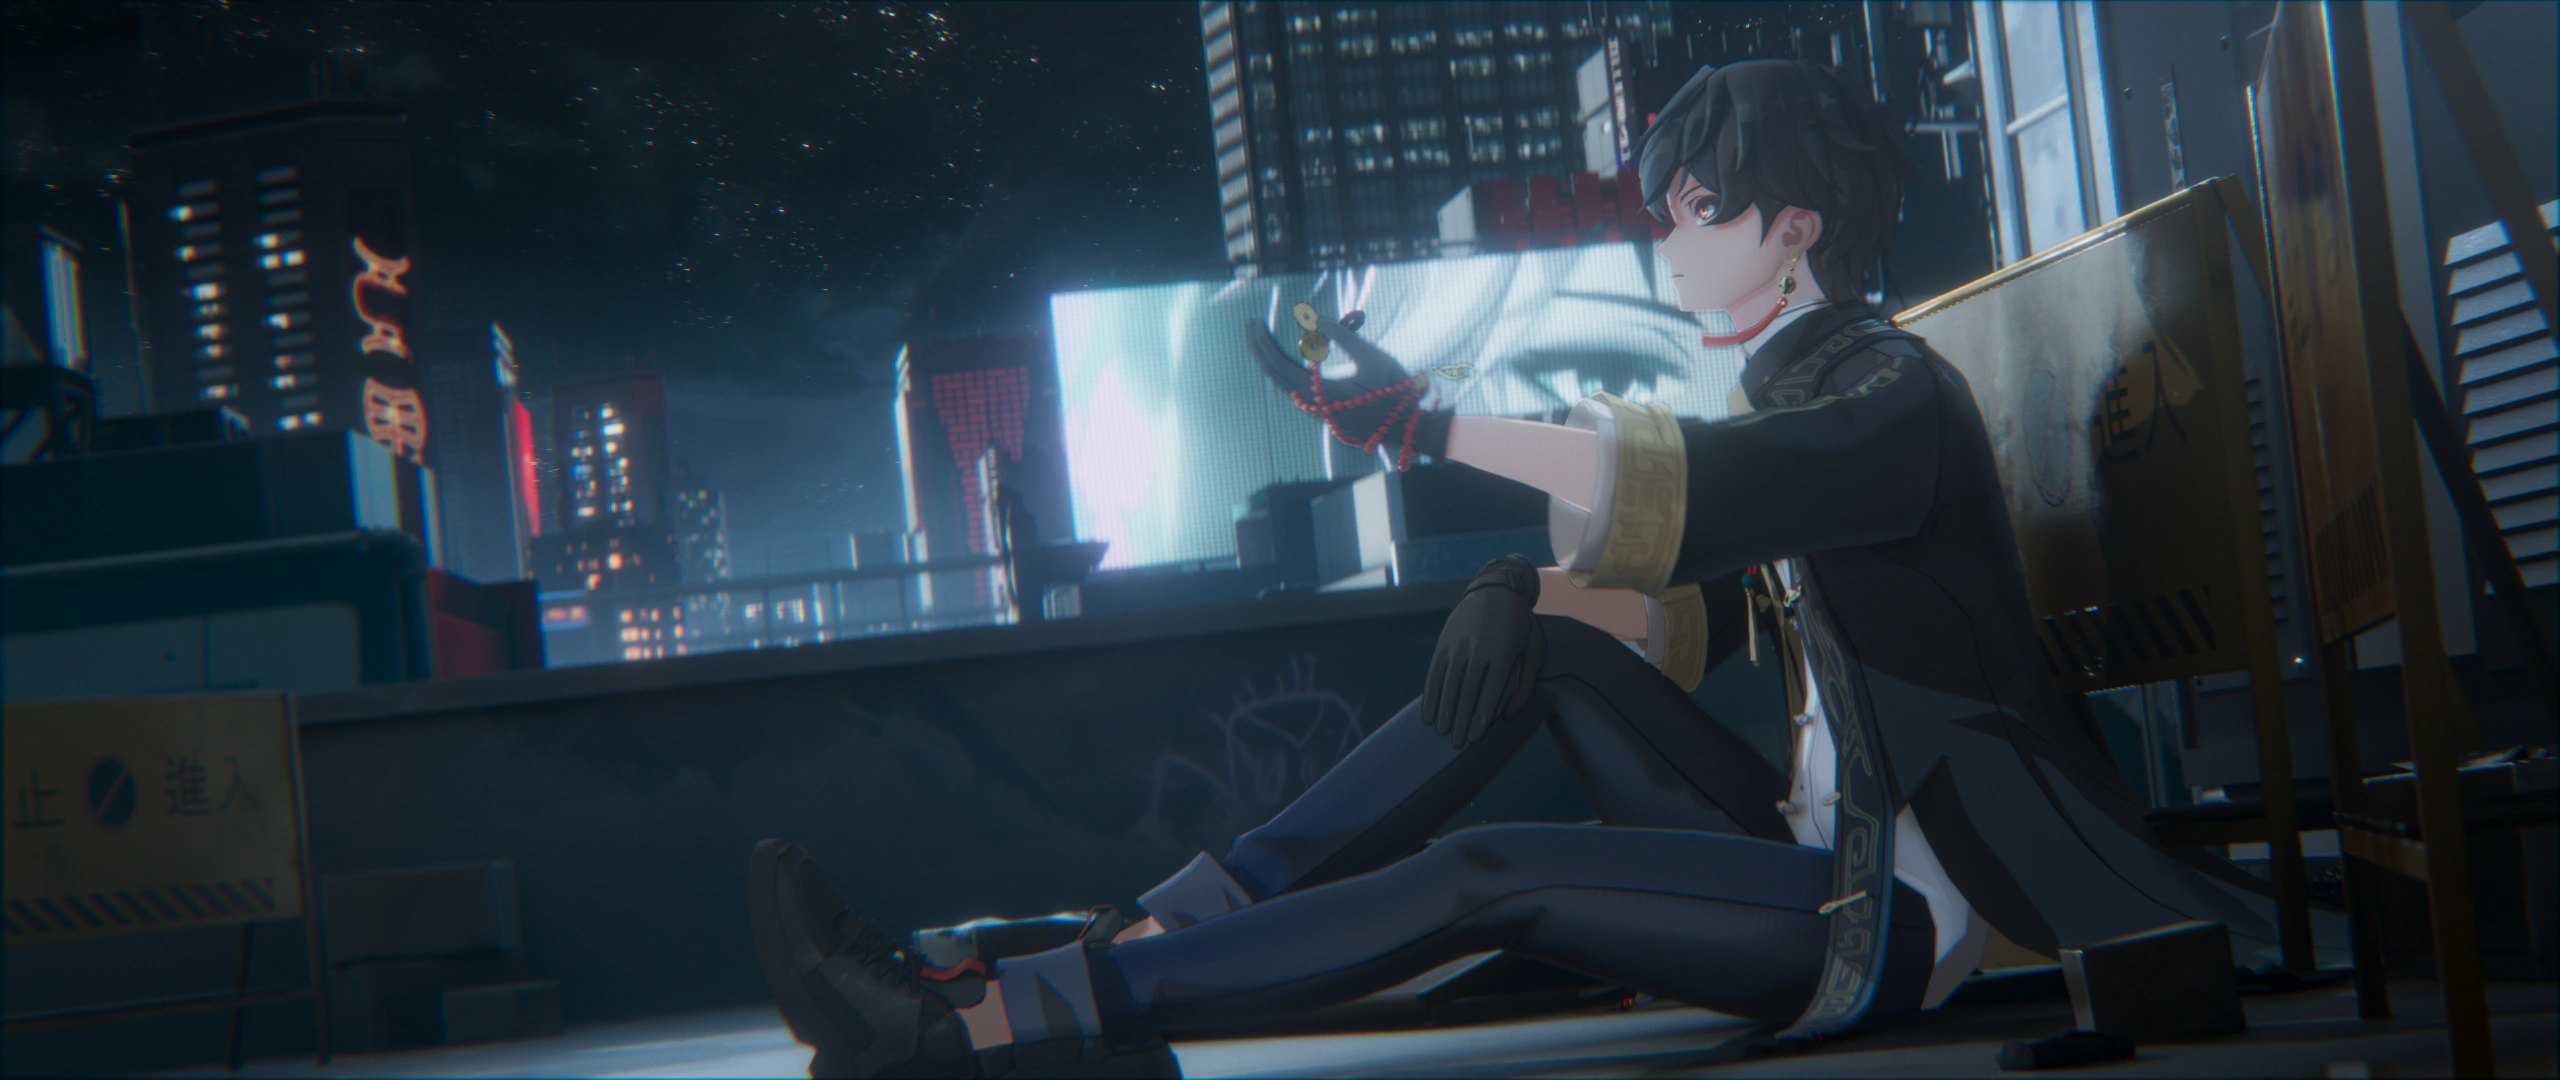
Works
Guilongchao Fan Art
- Date
- 2024-01
- Software
- Maya / Nuke / Blender / RizomUV / Substance Painter / Arnold
A fan project set in the world of Guilongchao.
Project overview
The world of Guilongchao has a similar feel to the setting I had been exploring in The Gods' Emissaries. This fan project was a chance to turn some of those visual ideas into an animated CG sequence.
I tried bringing together rigging, animation, scene assembly, lookdev, lighting and compositing, with a particular focus on adapting ADV controllers and connecting the animation and lookdev projects.
Production workflow
Rigging
I kept the MMD model's original joints and skin weights, adapted the controllers through ADV, and used ADV to control the character.
Animation
To build a moving shot, I worked on the character animation alongside the camera motion and composition. The examples below show the layout, character animation and ribbon simulation.
Shot layout
Character animation
Ribbon simulation
The ribbons were simulated using the IK joints created during rigging.
Scene assembly
Blocking and composition
I used simple blockout geometry to establish the composition around the animation and camera. The scene changed later in production, with the foreground balcony composition being the main part I kept.
Foreground and prop models
I made the foreground balcony and the props used by the character.
The embossed lettering on the props was made directly in Substance Painter's Height channel.
Character materials and lookdev
The character uses aiToon. After subtracting intrinsic shadows, I output a light-shadow boundary, with separate PBR and NPR lighting setups.
Animation and lookdev were kept in separate projects. The animated Alembic (ABC) output was connected to the lookdev material project, reusing the existing materials and render settings. I also later tested exporting only the skeleton via FBX to connect it to the material project.
This reduced repeated setup: lighting and rendering did not need to load the full rig, and the animation project did not need to carry the heavier shader materials.
Lighting and compositing
Environment lighting
For this project, I first prepared the lighting elements, then worked subtractively in compositing.
In lighting, I focused on producing the reflections, highlights, lit areas and shadows I needed. Where lights also affected unwanted areas, I removed those contributions in compositing and kept what supported the image.
The aim was to reduce repeated lighting adjustments and leave some visual decisions for compositing. This describes how I approached this project, rather than a fixed workflow for every shot.
Shot 01: rendered lighting and the final image
The two images below show the final output above and the rendered lighting below, making it easier to compare the lighting choices made in compositing.
The gramophone was rendered with three light groups—WarmLight, Top and Front—with separate Diffuse and Specular passes.
I adjusted these passes independently to create stronger light and shadow shapes and darken areas that competed with the subject. Start with the combined comparison, then expand the individual pass adjustments if needed.
Combined light-group comparison
Individual pass adjustments
- diffuse_Front
- diffuse_Top
- diffuse_Warm_LightThis pass retains the original result without adjustments.
- Specular_Front
- Specular_Top
- Specular_Warm_Light
- Rim and shape definition: Normal Relight, bumpboss and other adjustments were used at the end to reinforce the rim and the overall light and shadow shapes.
Environment compositing
The following steps show how the environment progressed from render elements to the final composite.
Adjust the light groups: process the Specular and Diffuse passes exported by Light Group separately.
Add atmospheric fog: use the Depth pass to create fog.
Add the character: composite the character render into the environment.
Add sky elements: composite the sky, clouds and stars. The stars were made by reducing the scale of Noise.
Unify the atmosphere: add atmospheric fog in the upper-right area to bring the character and environment together.
Character compositing
The character work focused on the light-shadow boundary, color, material detail and integration with the environment.
Establish the light-shadow boundary: use the rendered Toon Mask to build the boundary.
Refine the boundary: make local corrections to unwanted light-shadow edges in the render.
Adjust color: treat the eyes and skin separately.
Add material detail: blend in a small amount of PBR shading outside the skin and hair.
Integrate with the environment: use Light Wrap to bring in environmental color.
Add linework: composite the lines rendered with Pencil+.
Final compositing
After combining the elements, I continued refining the overall light and shadow to reach the final image below.
Looking back
This project brought together several stages of a fan CG production. The biggest takeaways were adapting ADV controllers and connecting the animation and lookdev material projects.
Looking back, I can see plenty of ways to improve the composite. But at the time, finishing the project and getting the workflow working was a valuable experiment in itself.
Character animation is still an area I want to keep practicing.
Related
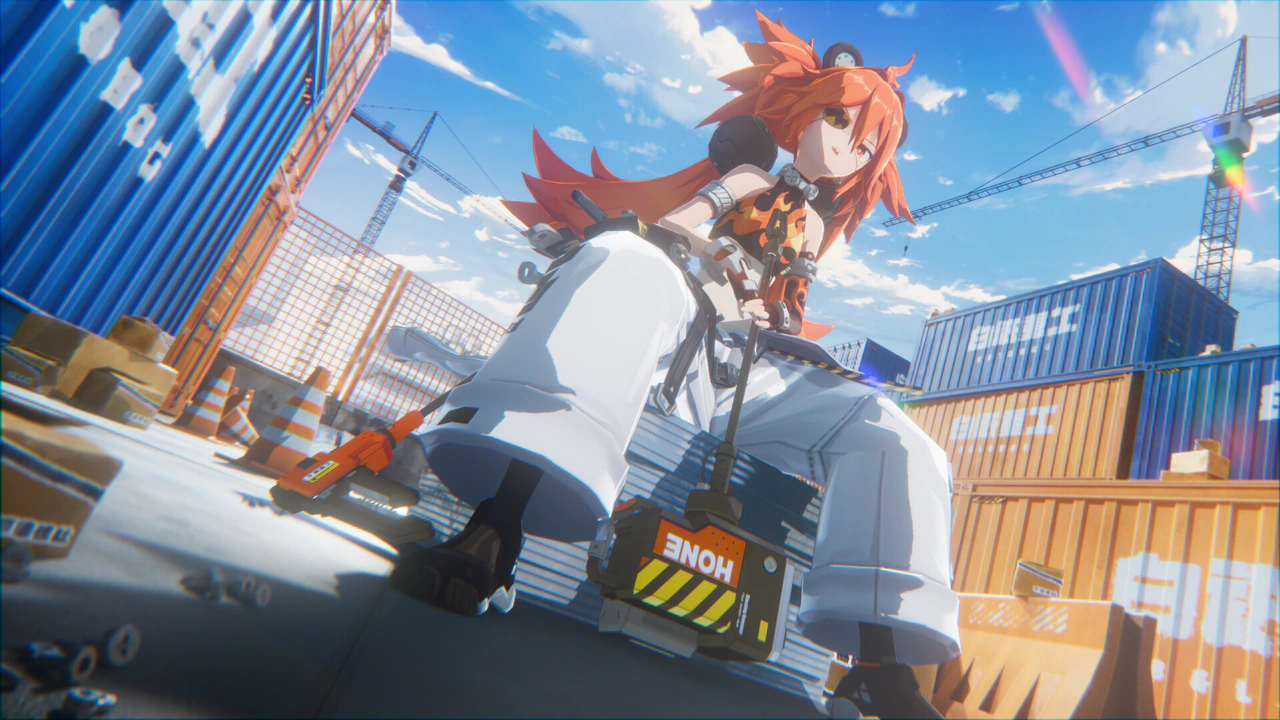
Want to Join Belobog Heavy Industries?
A Zenless Zone Zero fan project covering rigging, posing, scene modeling, render shaders and lighting compositing.
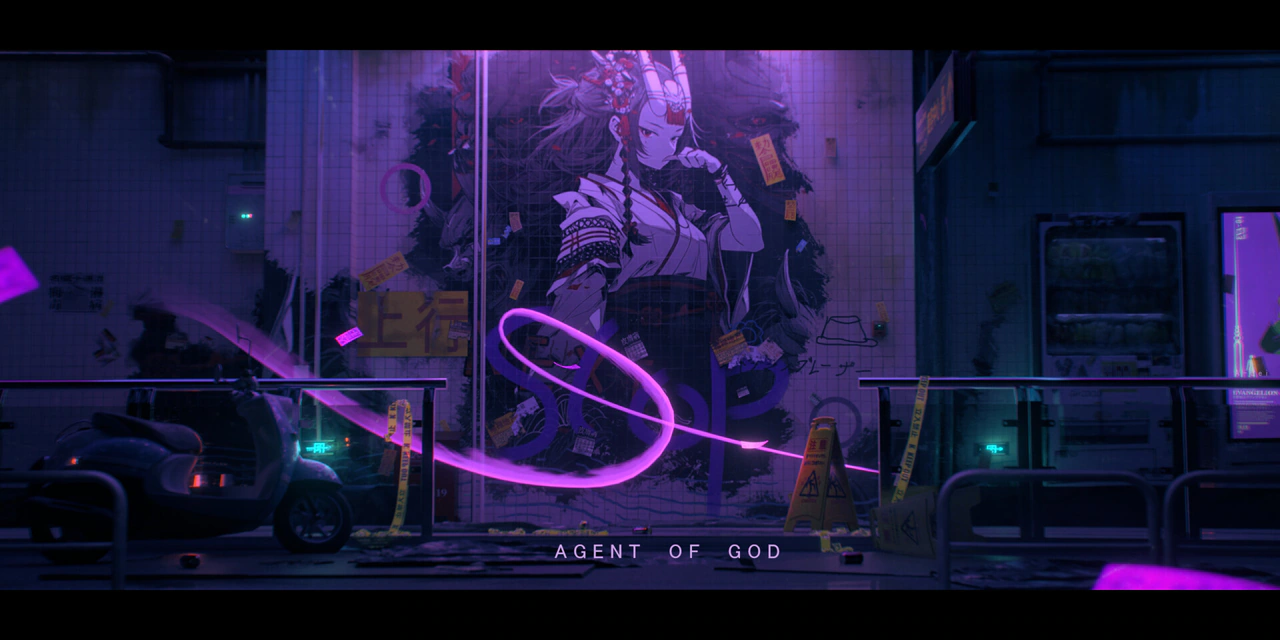
The Gods' Emissaries
A modern East Asian urban fantasy setting built around fading faith, spirit domains and the gods' emissaries.
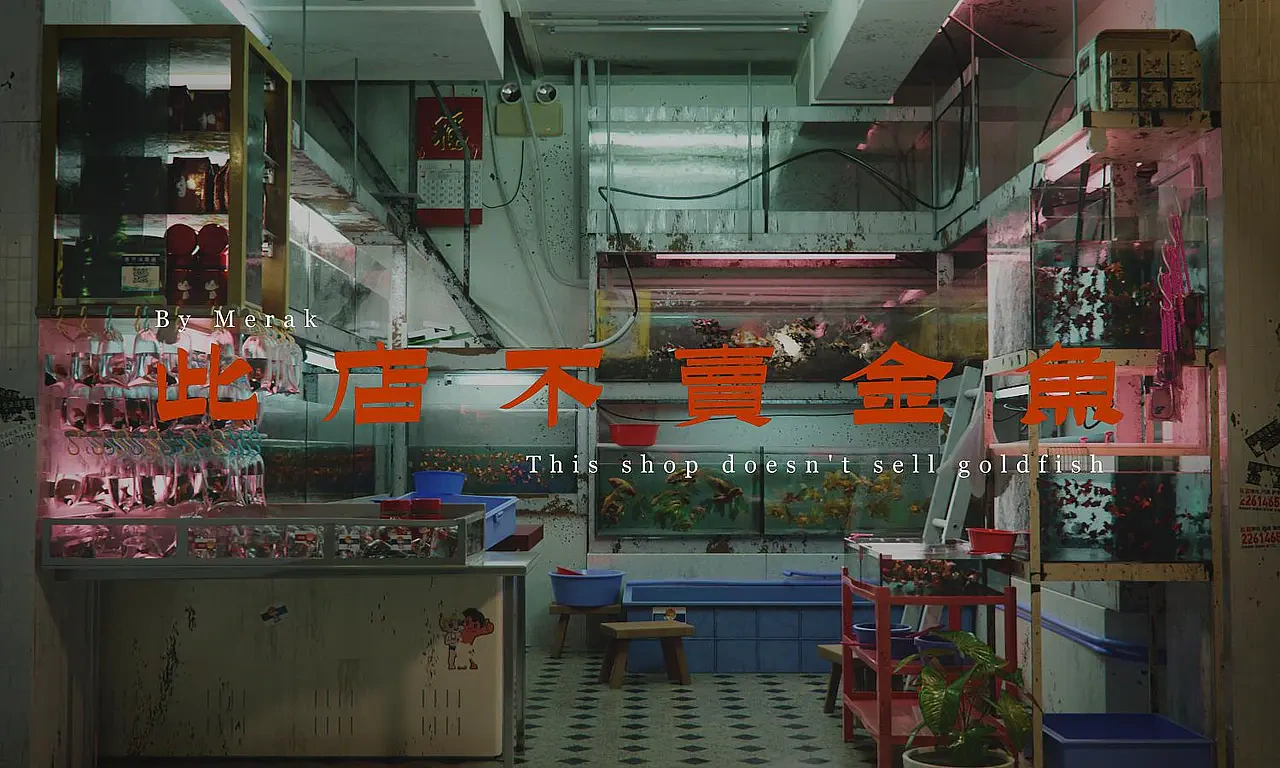
This Shop Does Not Sell Goldfish
A realistic environment modeling and lighting study.